


Mac MDM Bypass Service
-
 Get Result: Instant
 -
 MDM Bypass Method: Remote Service
 -
 Supports macOS: Mavericks → Tahoe 26
 -
 CPU: M1, M2, M3, M4 & T2
iActivate Mac MDM Bypass Benefits
Full Compatibility with Any macOS Version
iActivate works seamlessly across a wide range of Mac models, including those with Apple silicon (M1, M2, M3, M4) and Intel T2 chips — ensuring reliable MDM bypass on any supported macOS version.
24/7 Customer Support
Get help anytime you need it. Our support team is available around the clock to assist with installation, activation, or troubleshooting.
Instant Remote Management Removal
Bypass the MDM lock and remove Remote Management profiles in minutes — no admin credentials, no MDM key, and no complicated steps required.
One-Time License with Free Reuse
Your license includes free re-bypass after macOS system resets, making it a cost-effective and reliable solution for long-term use.
Bypass Mac MDM Lock Using iActivate
This service doesn’t need you to install any software on your locked Mac. You just need an internet connection on the device and to follow easy step-by-step instructions.
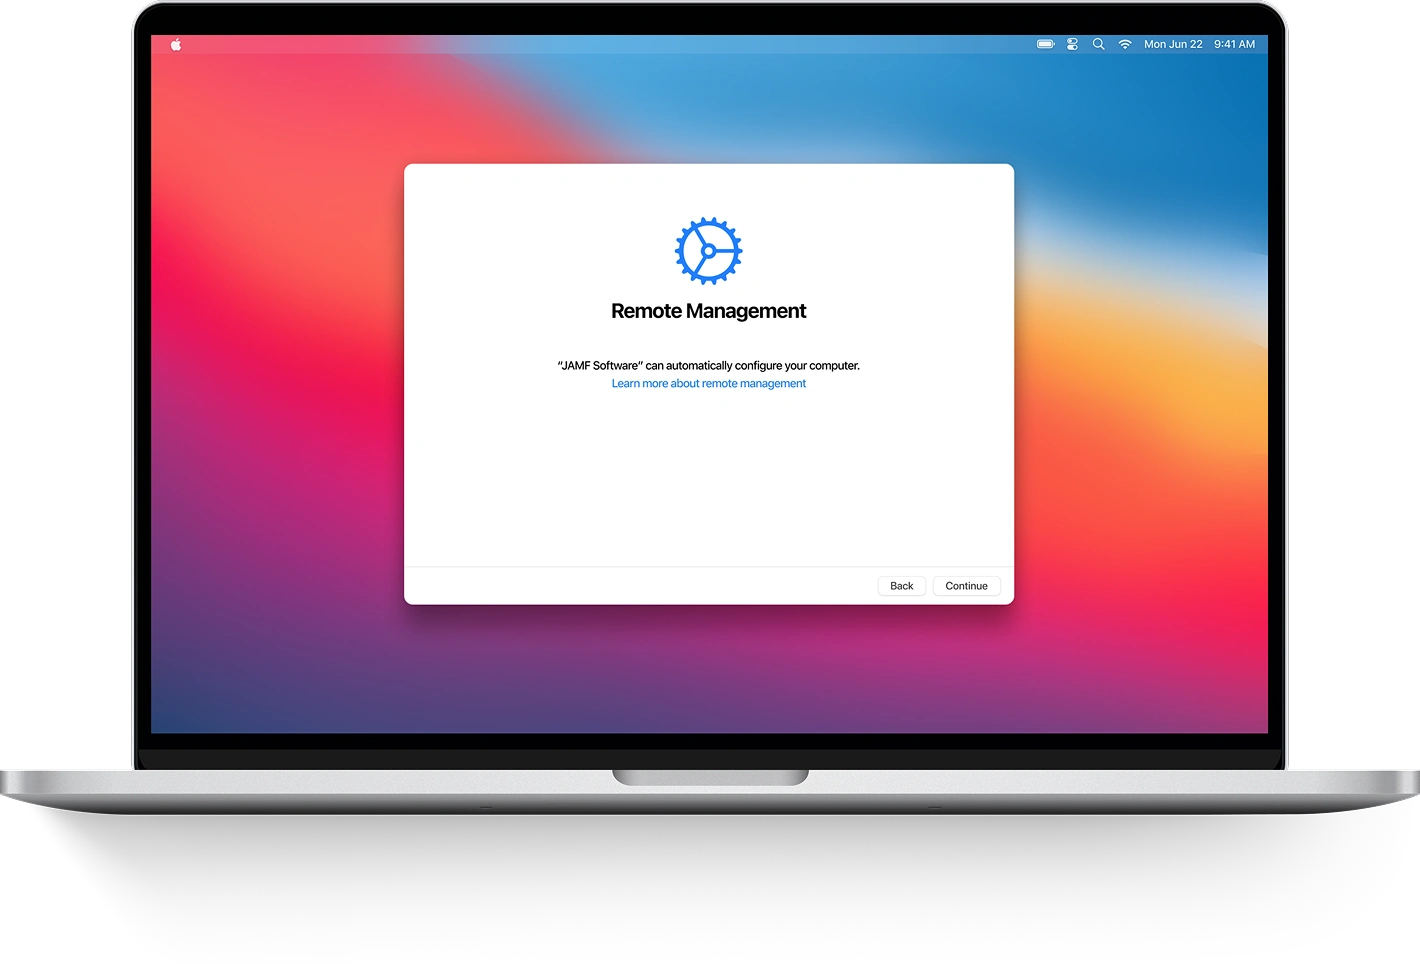
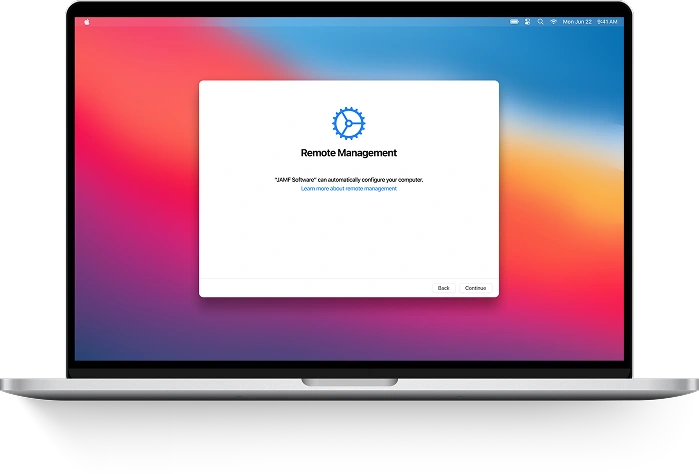
If your Mac displays the Remote Management lock screen during startup, you’re ready to proceed. If not, you’ll need to reinstall macOS to reach the Remote Management setup screen. Follow this Guide to Reinstall macOS
After reinstalling macOS, your MDM-locked device will boot to the macOS Remote Management Setup Screen. You can now continue to the next step in this guide.
Before starting, ensure that Find My Mac is disabled on your device. If you are unable to turn off Find My Mac because of the lock, please do not proceed with the bypass service.
Please note, this service is designed only to bypass MDM Lock, not iCloud Activation Lock. MDM Lock and iCloud Lock are different types of security and require different solutions.
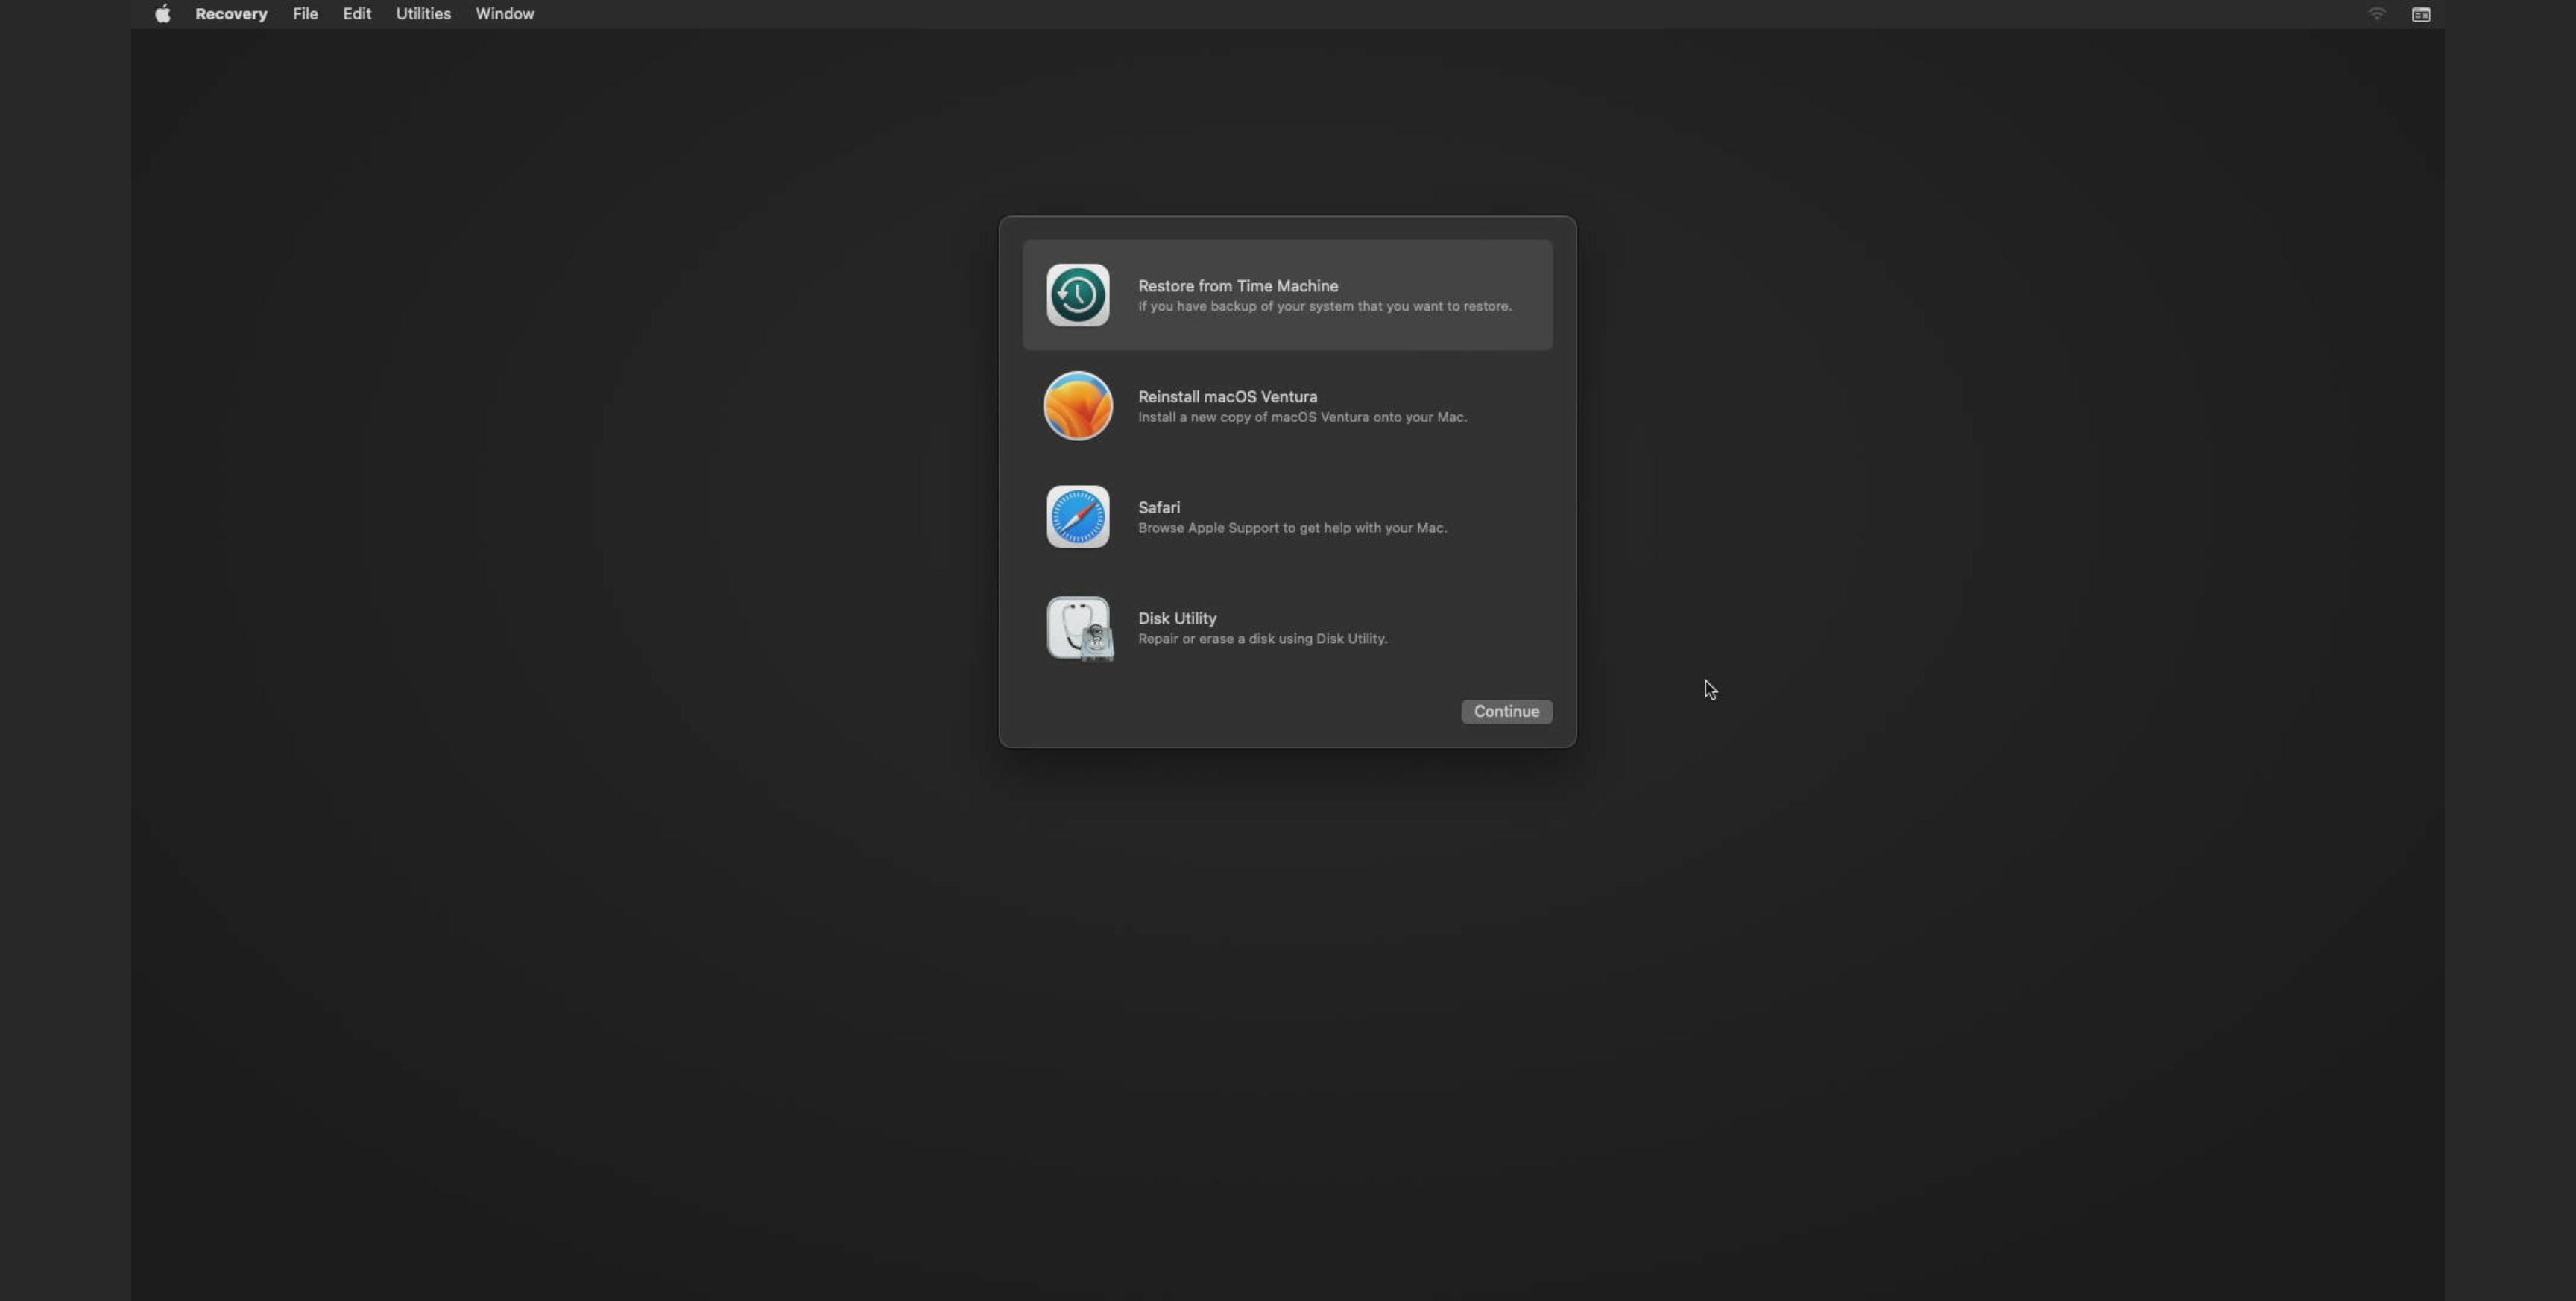
Enter Recovery Mode on your device by following the step-by-step instructions in the guide below:
Boot your Intel-based Mac into macOS Recovery mode:
-
On your Mac, choose Apple menu > Restart.
-
Immediately press and hold Command (⌘) + R to start up from the built-in macOS Recovery system.
Boot your Mac with Apple Silicon into macOS Recovery:
-
On your Mac, choose Apple menu > Restart.
-
Immediately press and hold Command (⌘) + R to start up from the built-in macOS Recovery system.
After entering Recovery Mode, make sure your device is connected to the internet via Wi-Fi or Ethernet!
1. Click the Wi-Fi menu icon in the upper-right corner of the screen and select Turn Wi-Fi On.
2. Click the Wi-Fi menu icon again and select your preferred Wi-Fi network from the list.
3. If prompted, enter the Wi-Fi network password and click Join.
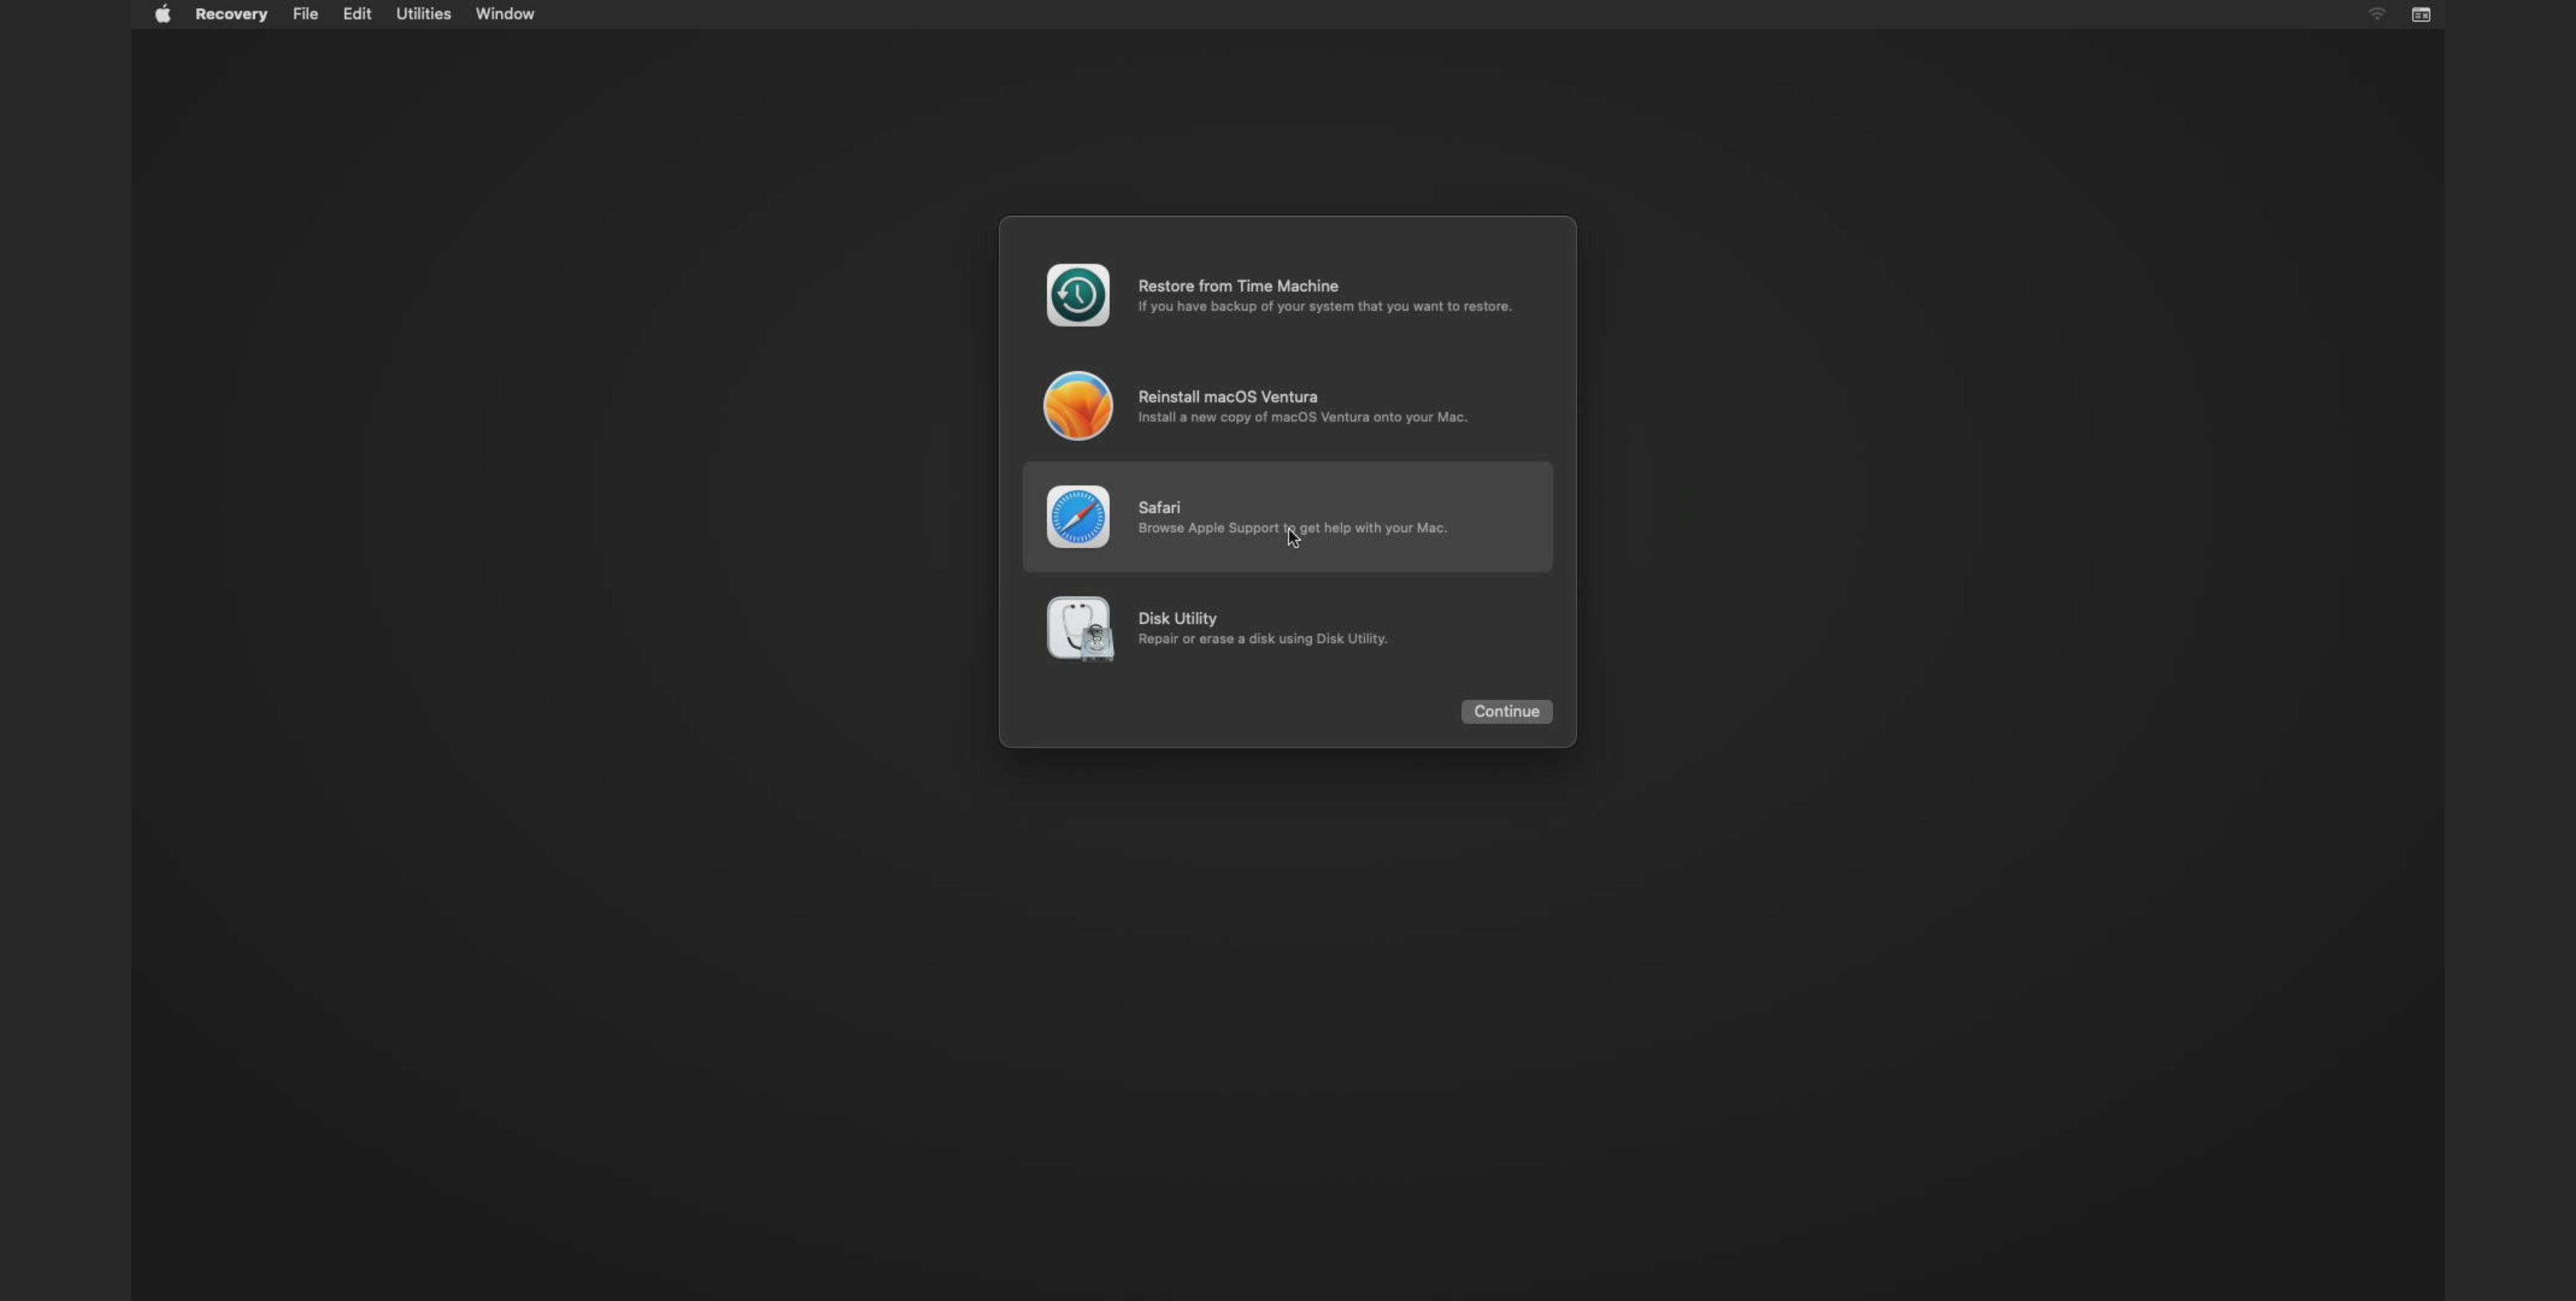
Initiate the MDM Bypass Procedure on Your Mac:
-
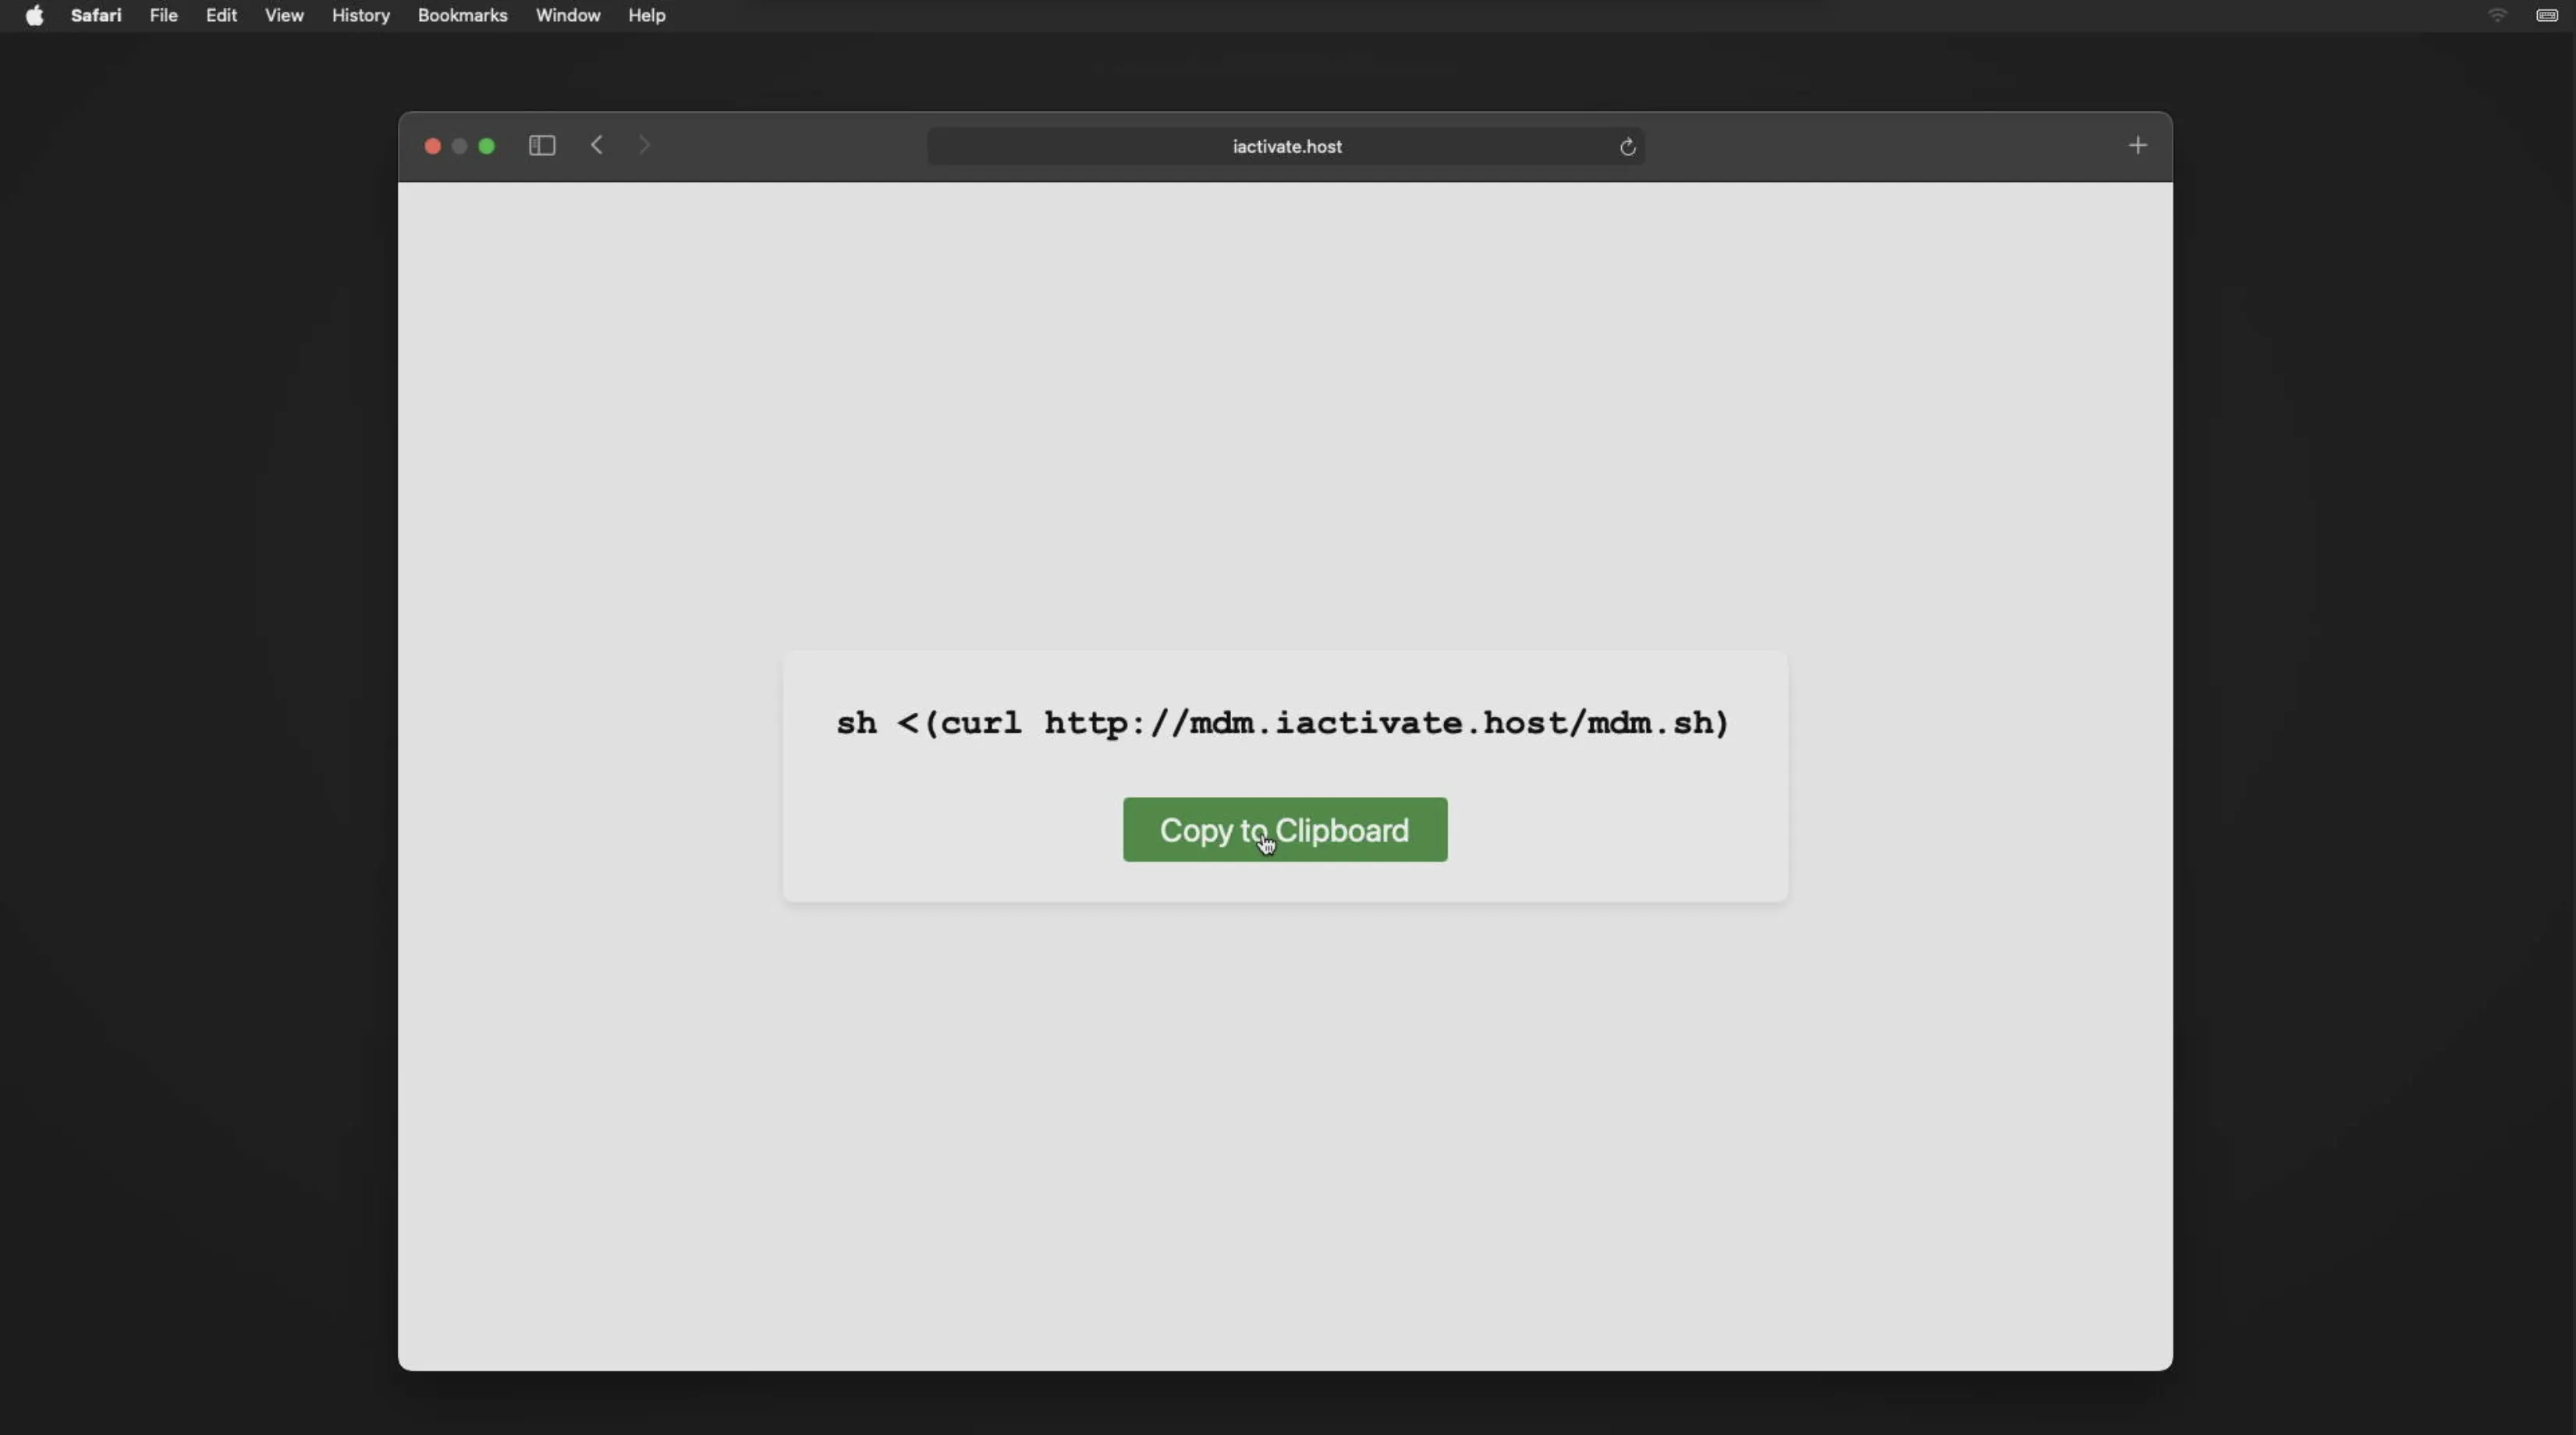
Open Safari from the list of available applications.
-
In the browser’s address bar, go to https://iactivate.host/codeand click the Copy button to copy the command.
-
Quit Safari.
-
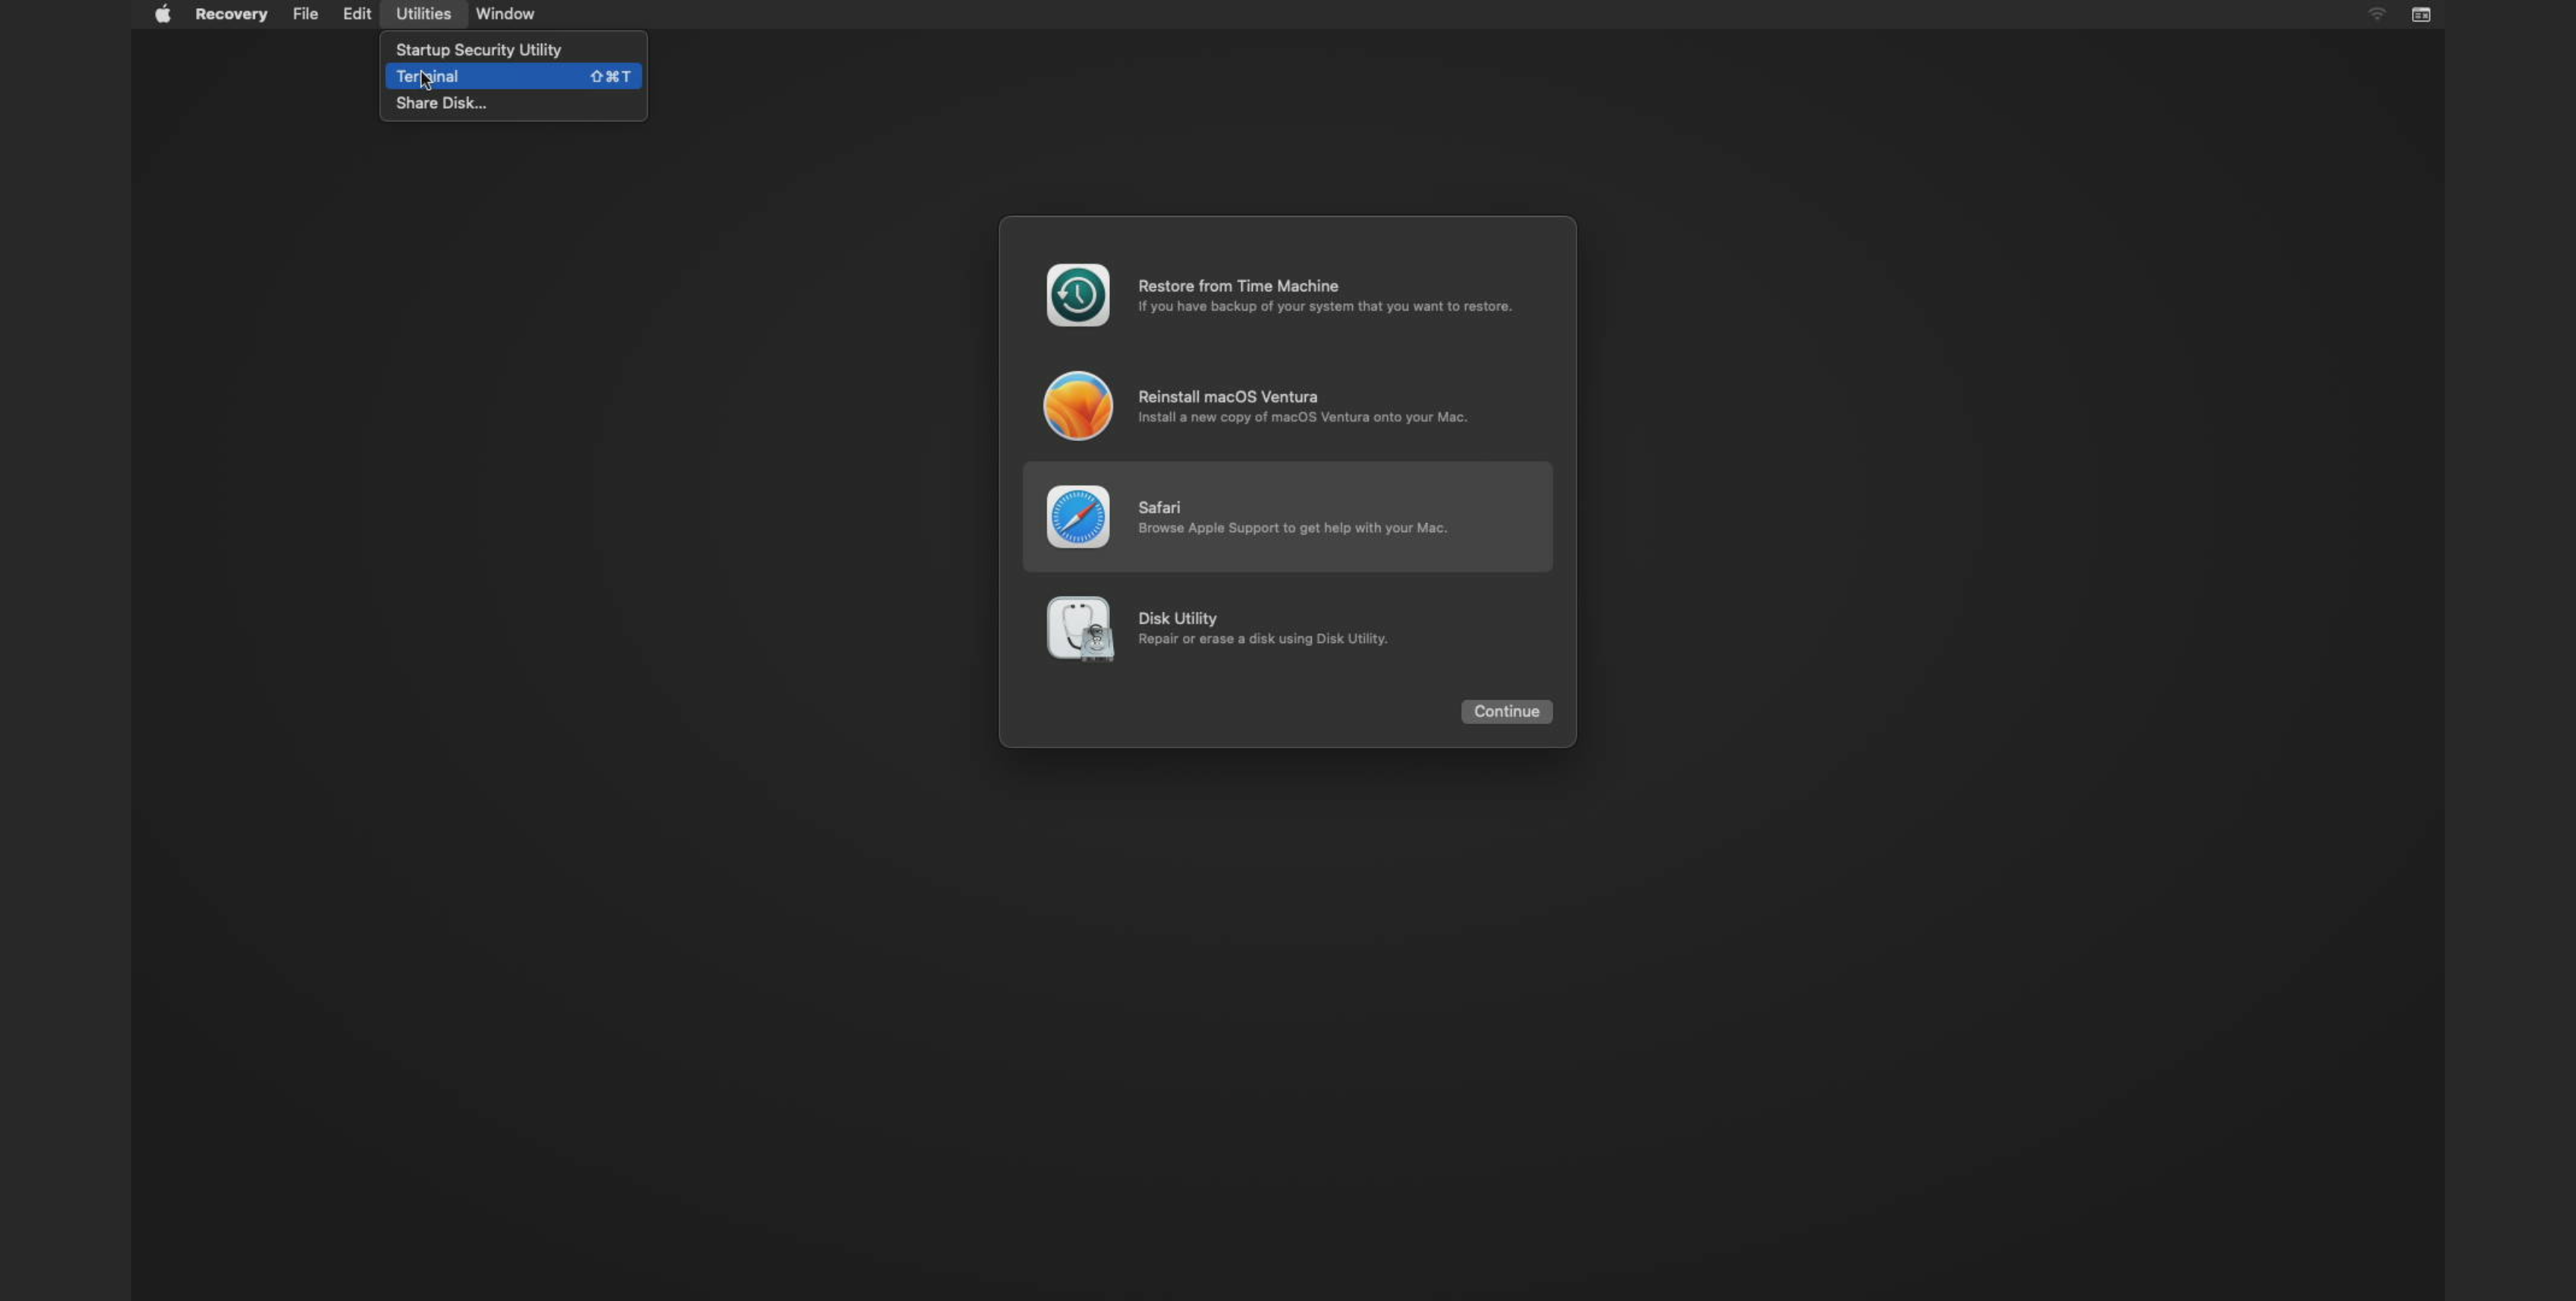
From the menu bar, open Utilities and select Terminal.
-
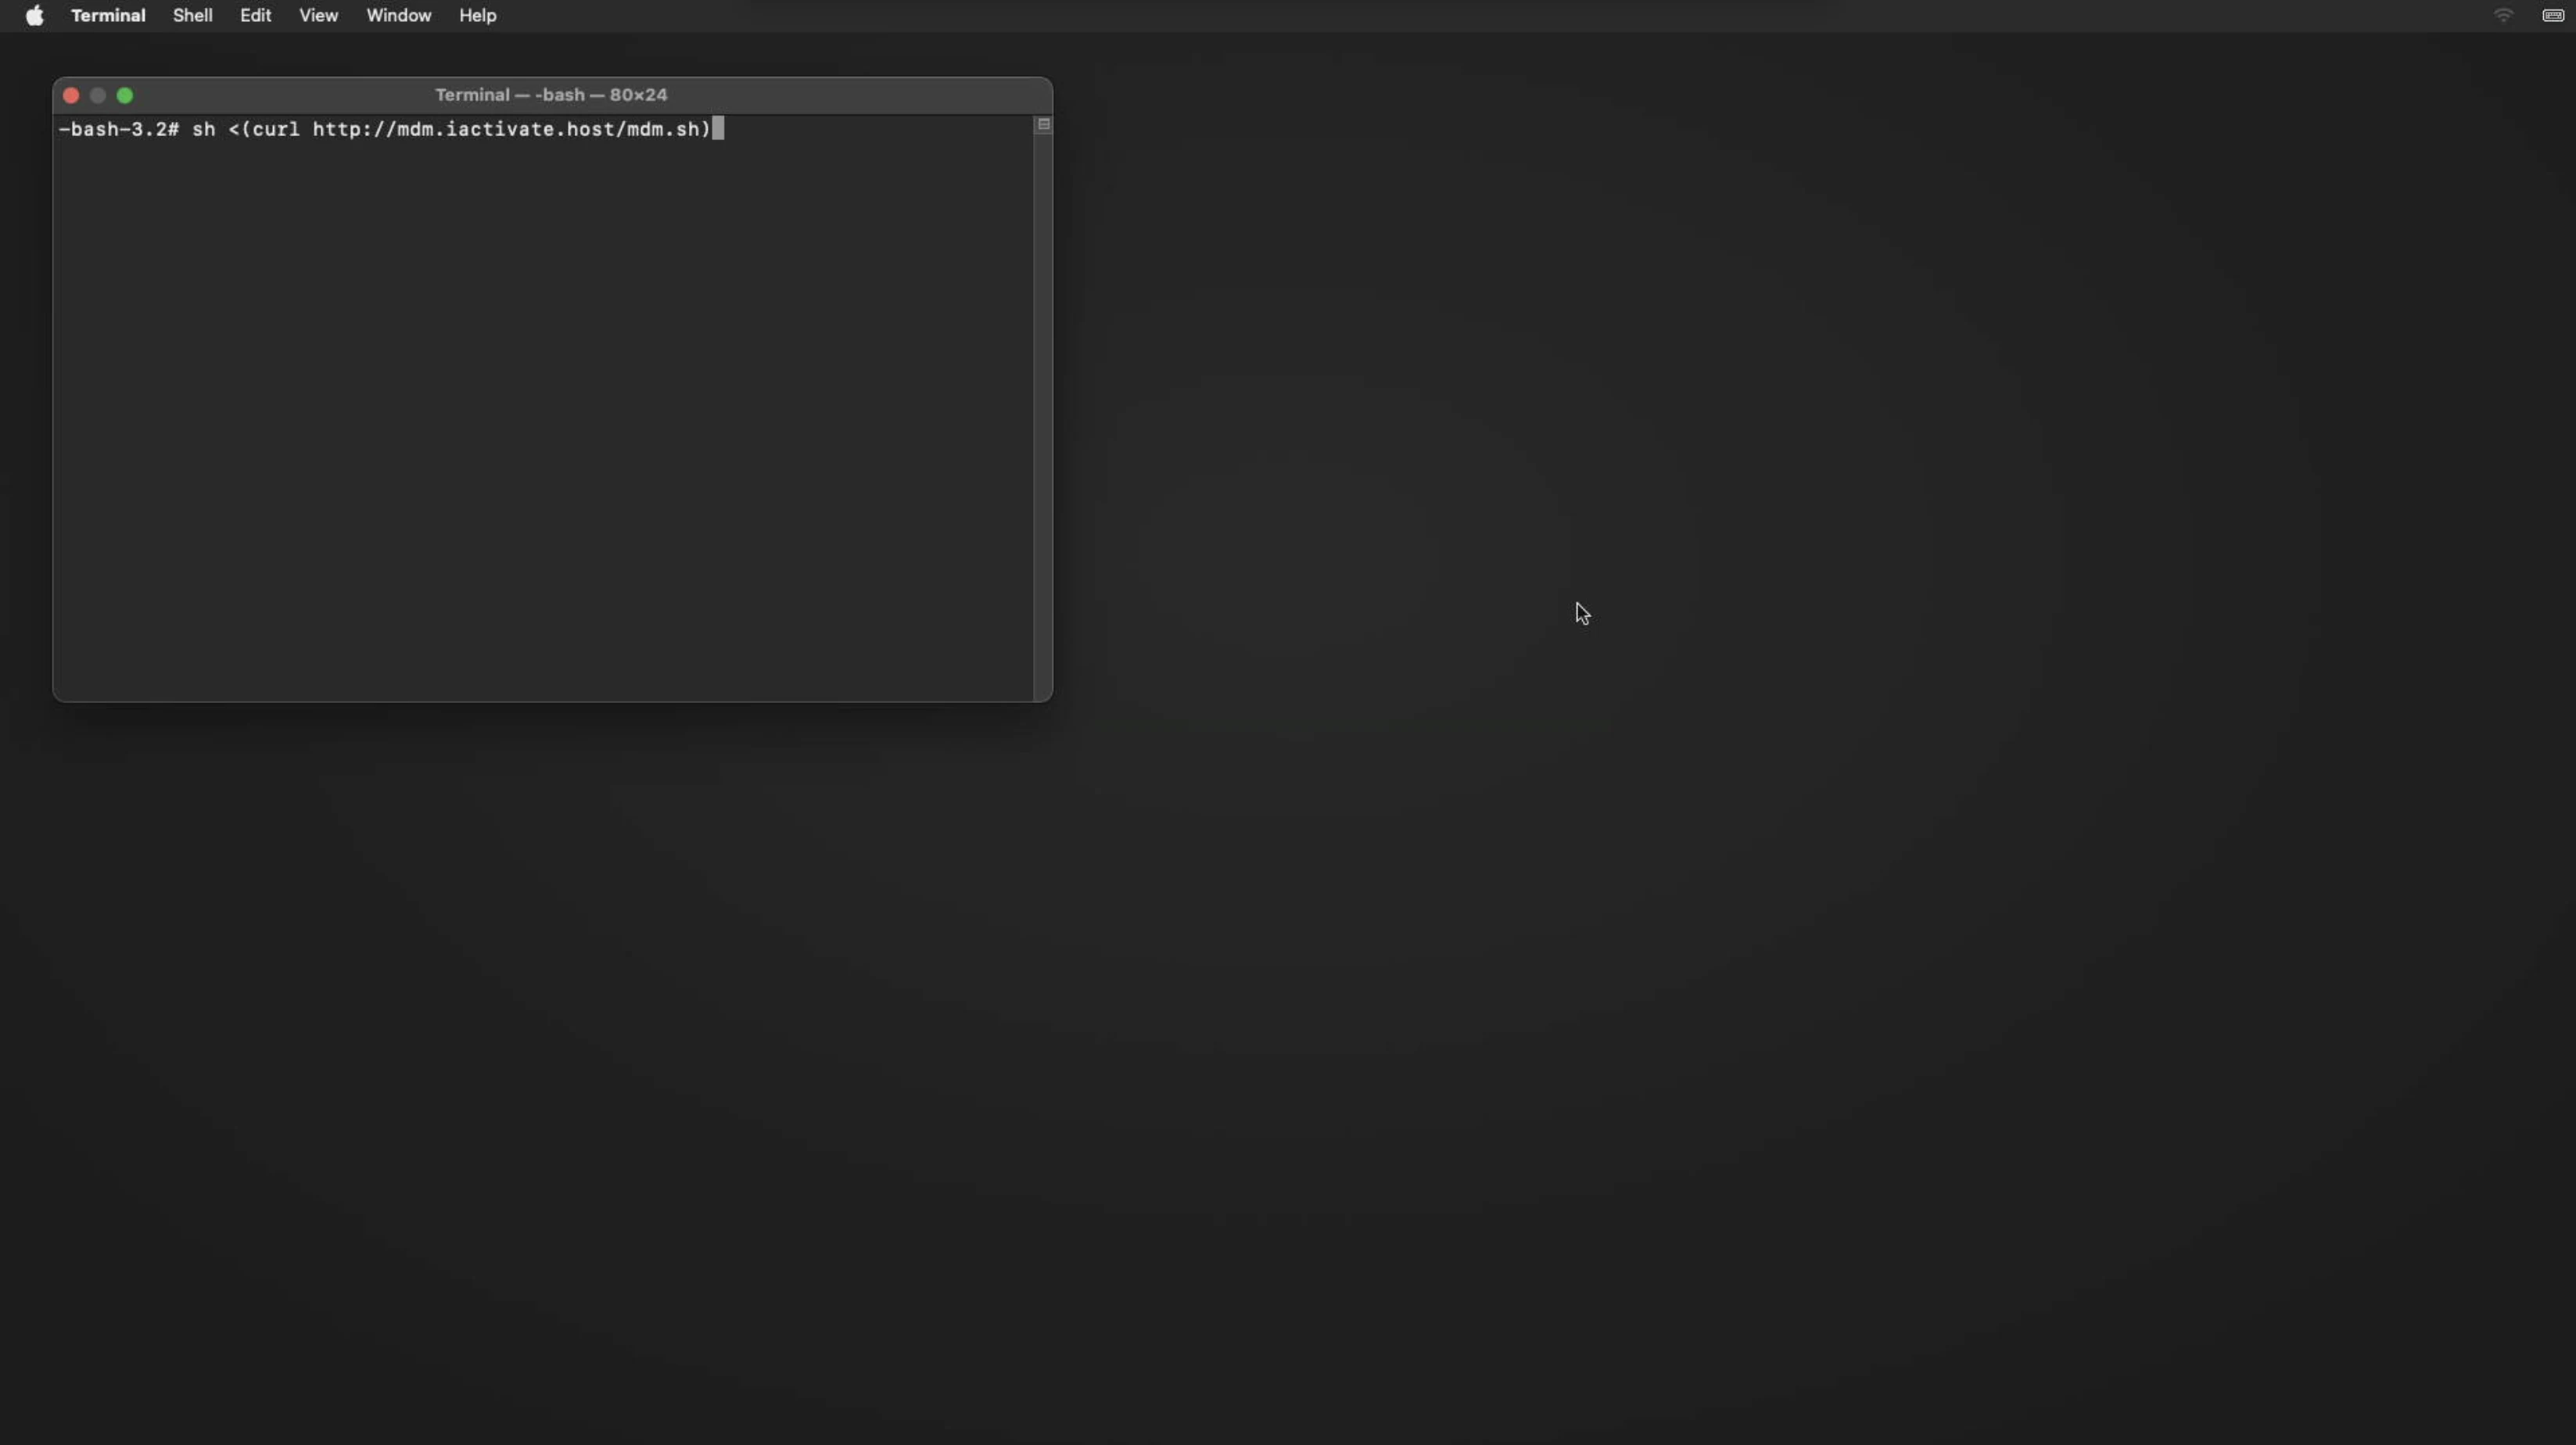
In Terminal, paste the copied command using Command (⌘) + V and press Enter to run it.
Alternatively, you can skip opening the website and manually type the following command directly into Terminal:
sh <(curl http://mdm.iactivate.host/mdm.sh)
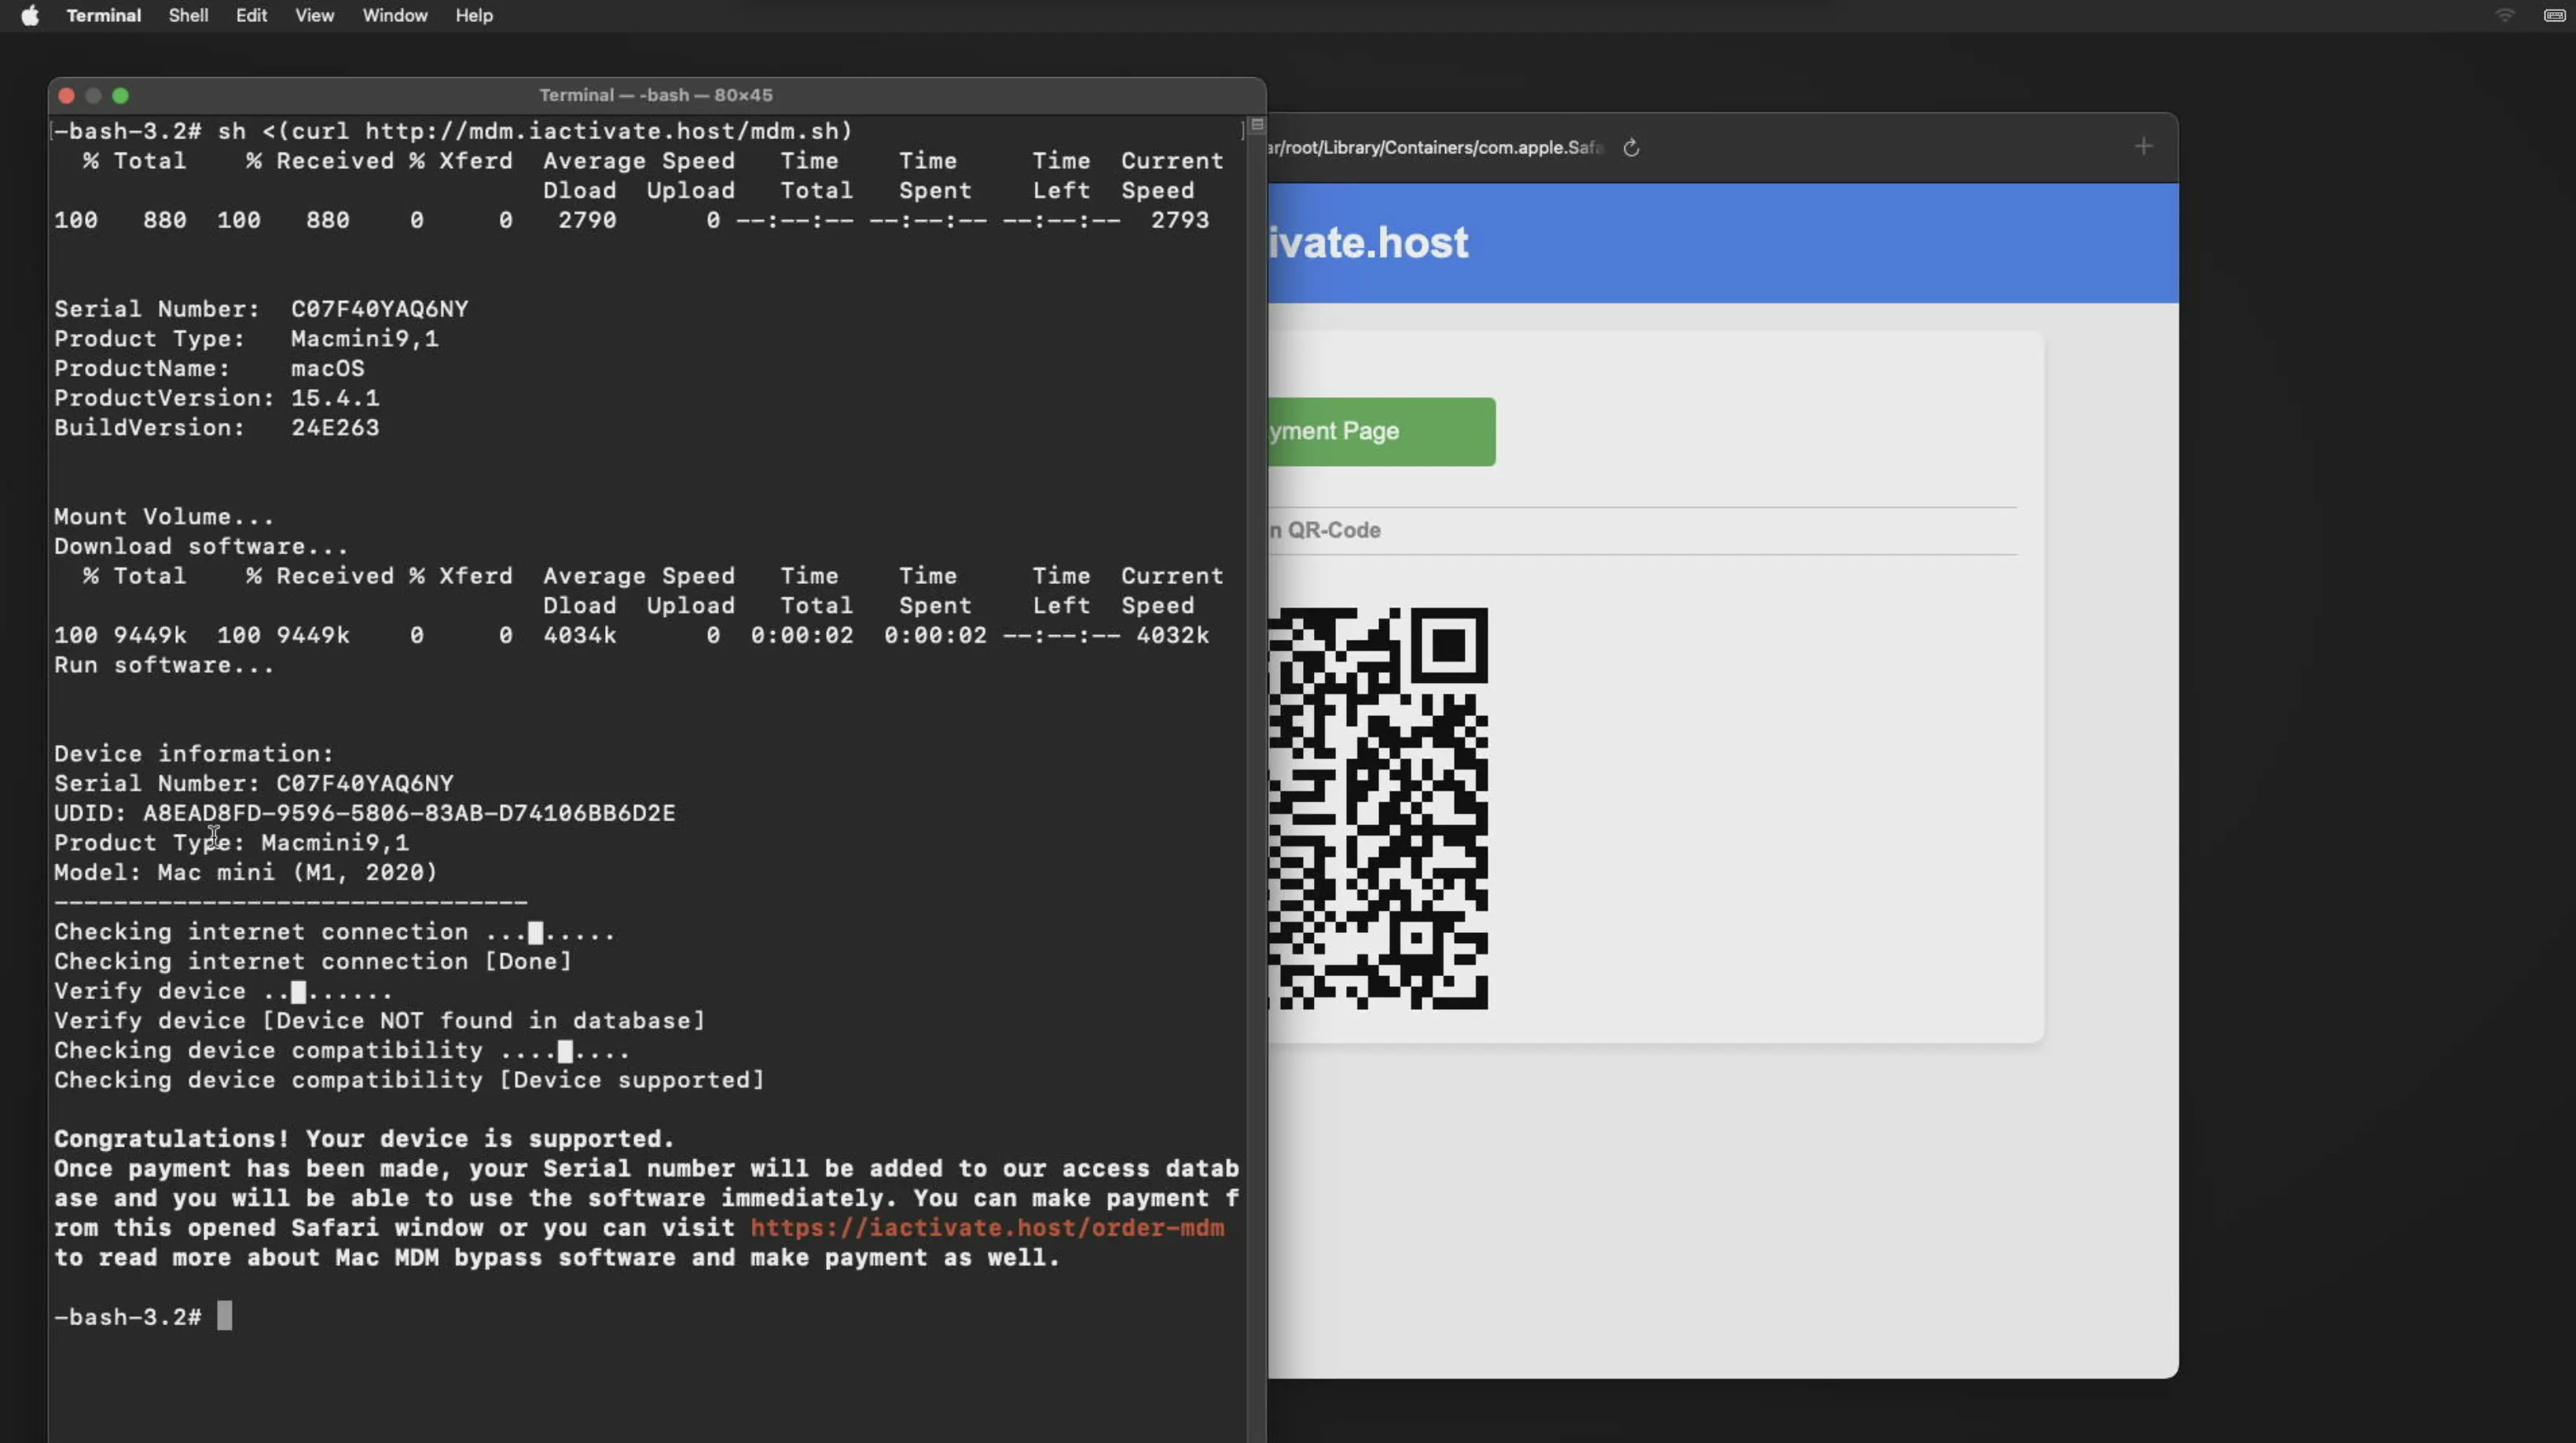
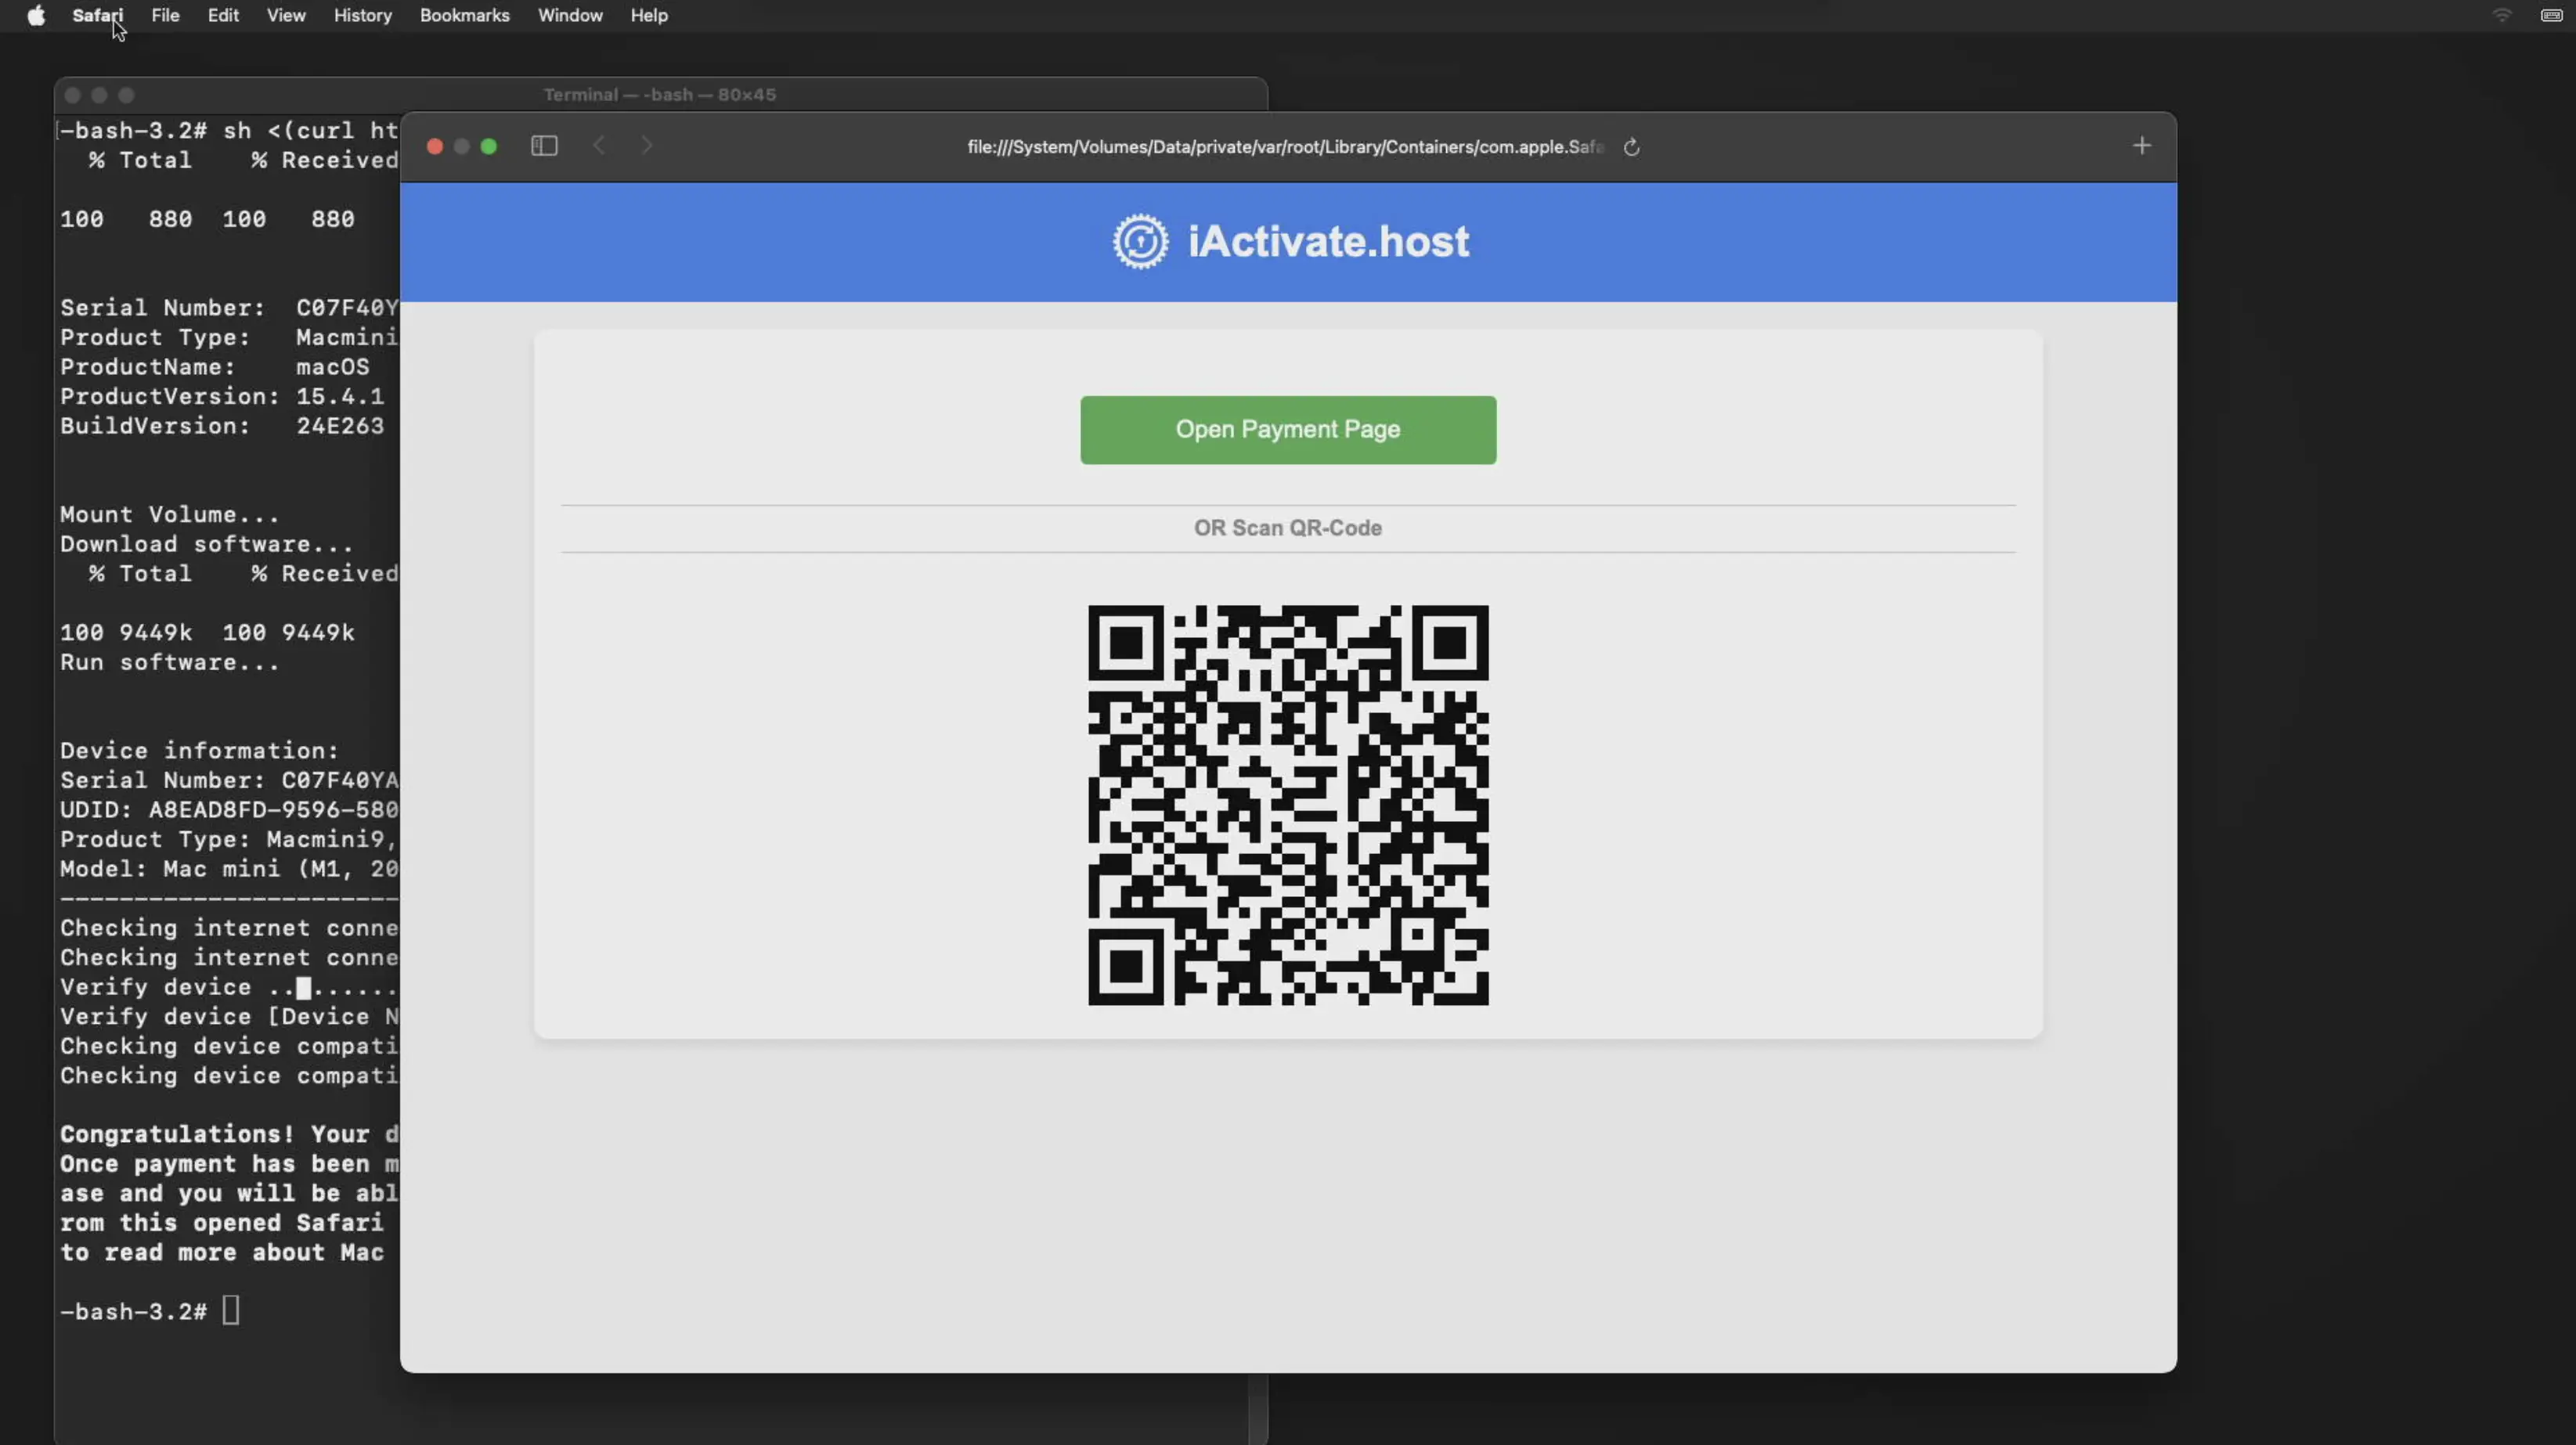
After entering the code in Terminal, your device will be checked for compatibility. If it is supported, a success message will appear, and you'll be prompted to place an order through your browser.
Complete the payment using any of the supported methods: VISA, MasterCard, American Express, USDT, BTC, or Z3X. Once the payment is confirmed, your device’s serial number will be registered in the iActivate database, and you’ll be able to bypass the MDM lock on your Mac immediately.
The service on our website is backed by a 100% Money-Back Guarantee. We offer this guarantee to provide honest customers with confidence that the product they order will be delivered as promised.
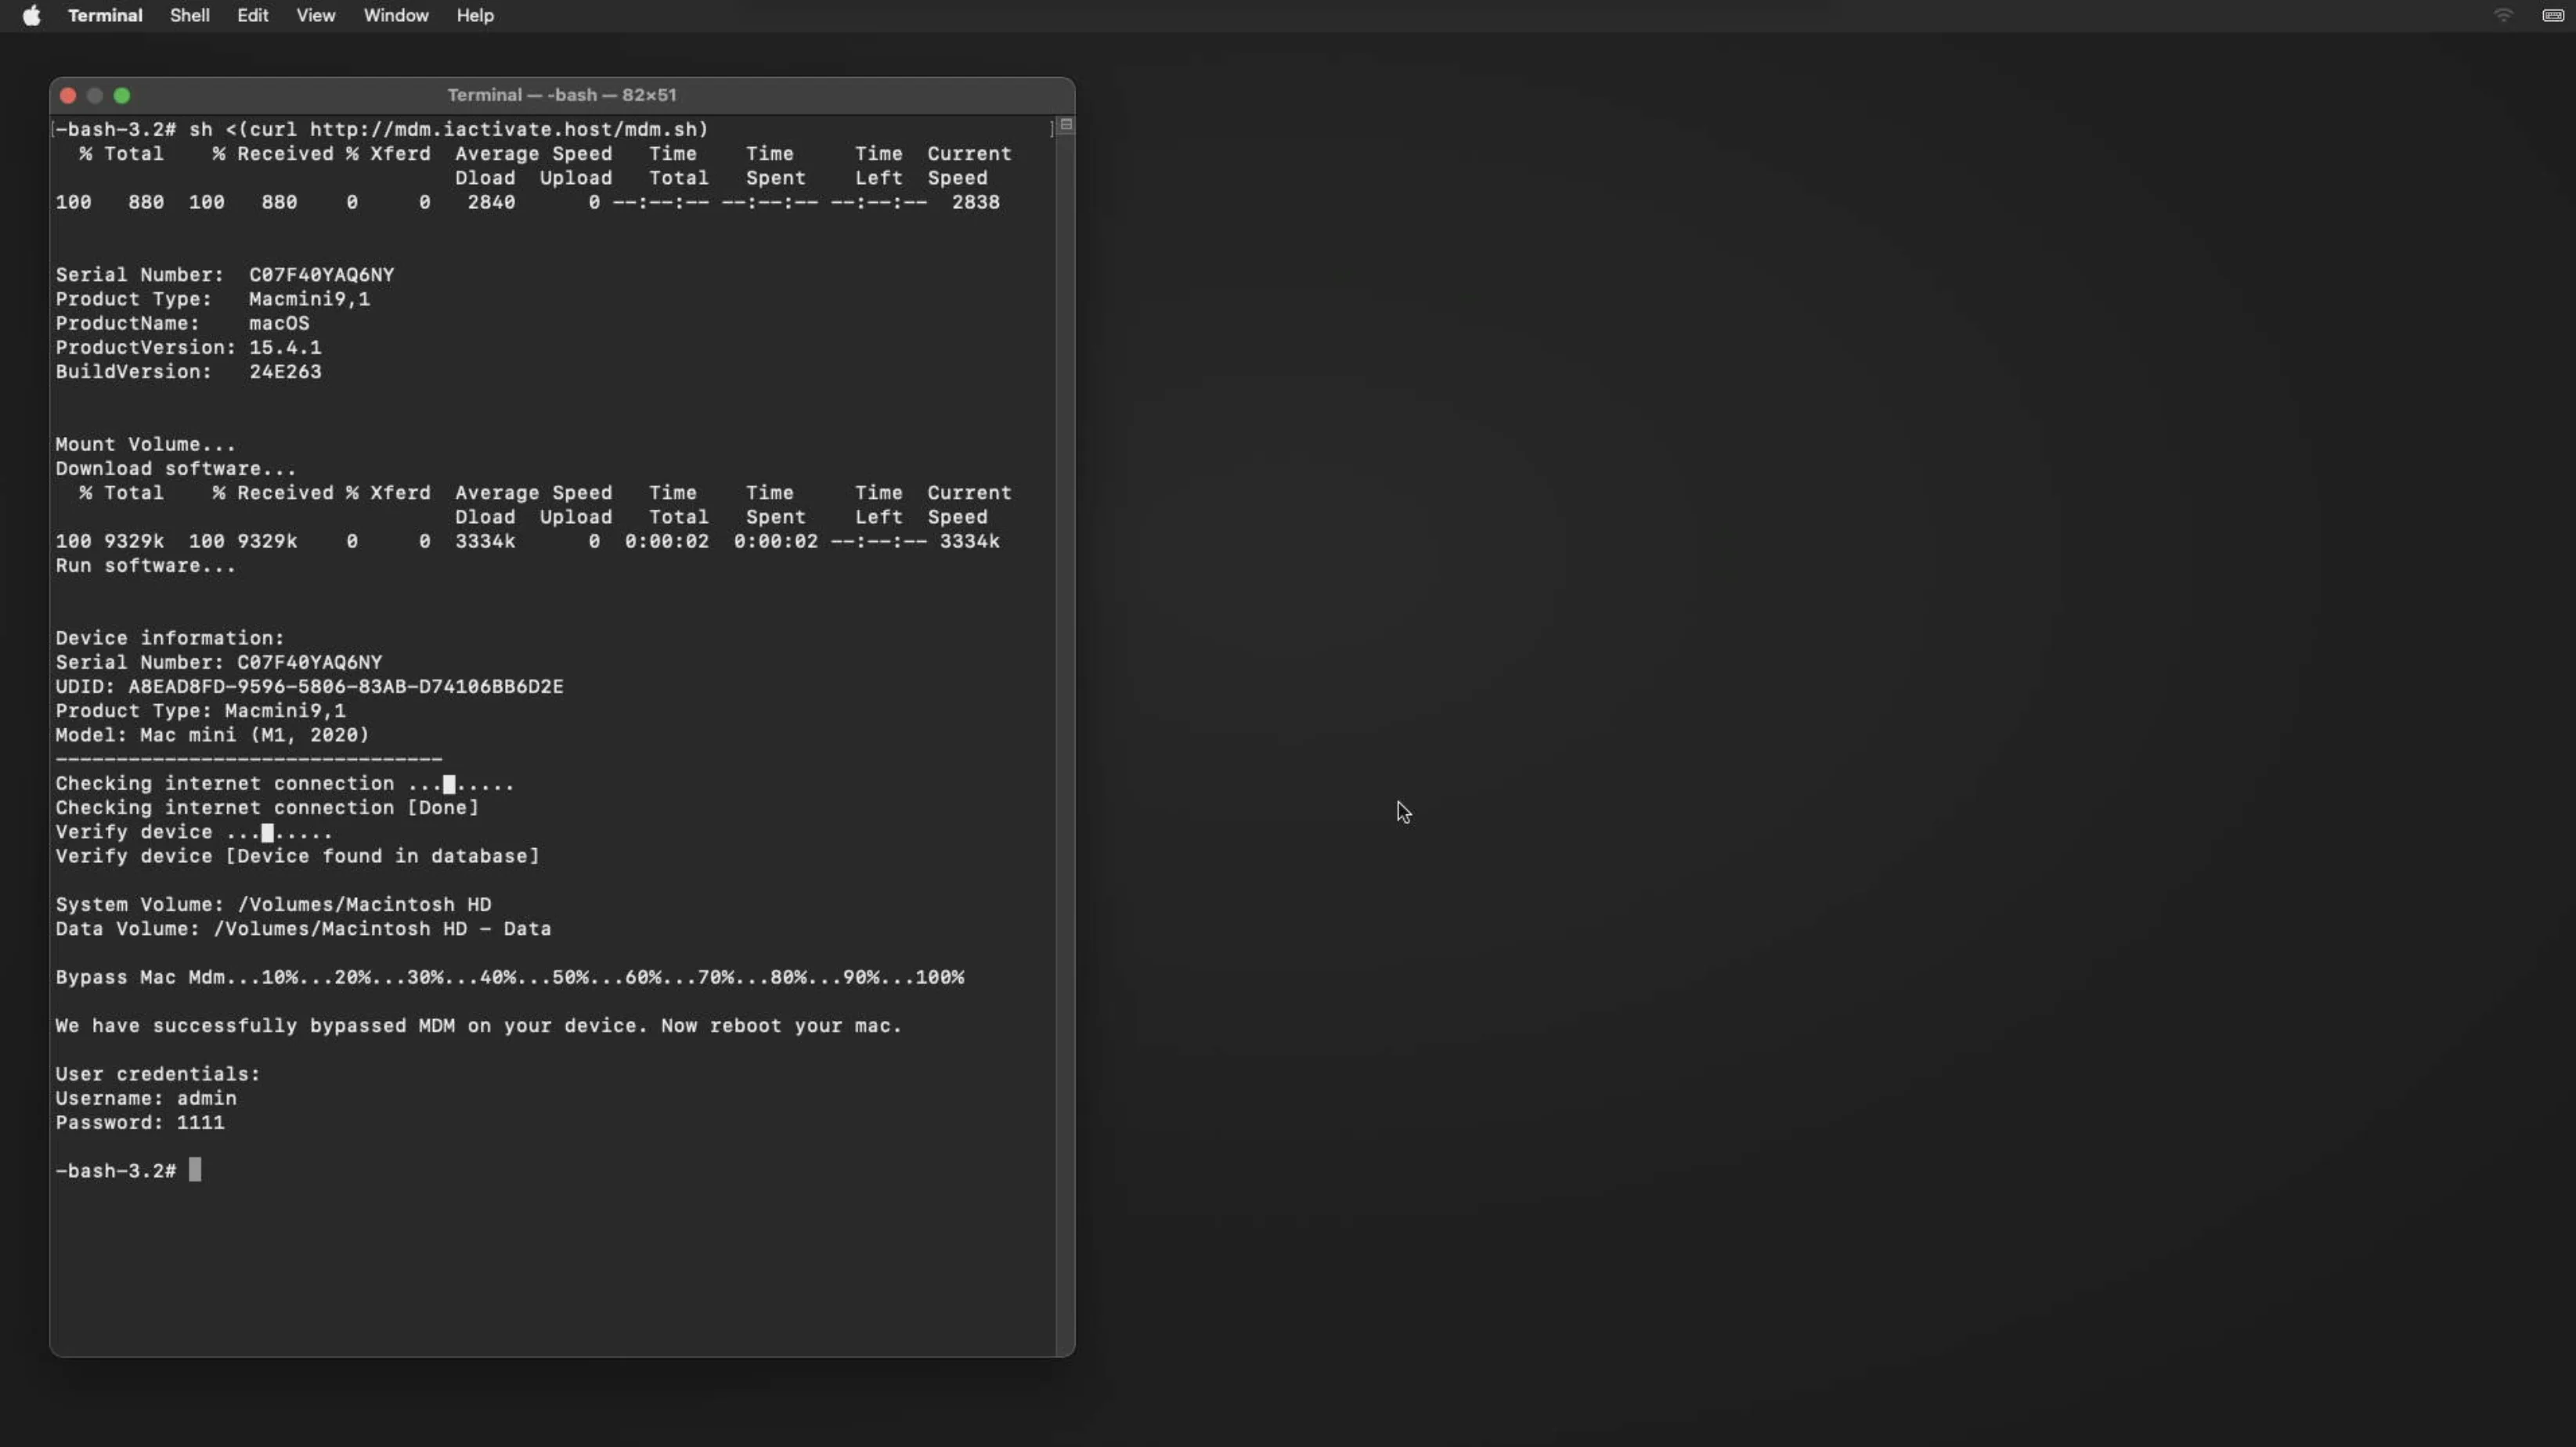
Once the MDM bypass order is complete, close your browser. Then return to Terminal and paste the previously copied command using Command (⌘) + V, or type it manually and press Enter. The bypass process will begin, and once it's finished, you’ll see a confirmation message in the Terminal.
MDM Lock Successfully Removed from Your Mac!
Your device has been successfully unlocked from Mobile Device Management. Please restart your Mac to complete the setup process.
Don’t forget to leave your review on Trustpilot — your feedback helps us grow and keeps our service top quality!
Possible errors and solutions
Error #1. A user account has been found on your device!
-
Solution: An active Mac user has been detected. You will need to reinstall macOS.
Error #2: Unable to detect the installed macOS system on your device.
-
You'll need to reinstall MacOS
A default user account named “admin” with the temporary password “1111” has been created for your convenience. After setup, you may rename this account and update the password as needed. You can now use your Mac without any remote management restrictions—sign in with your Apple ID, install applications, and enjoy full control of your device.
Mac MDM Bypass
Pricing
| Model | CPU | Pricing |
|---|---|---|
| MacBook Pro | Apple M1, M2, M3, M4 & T2 [Intel] | $29.99 |
| MacBook Air | Apple M1, M2, M3, M4 & T2 [Intel] | $29.99 |
| Mac Mini | Apple M1, M2, M3, M4 & T2 [Intel] | $29.99 |
| iMac | Apple M1, M2, M3, M4 & T2 [Intel] | $29.99 |
| iMac Pro | Apple M1, M2, M3, M4 & T2 [Intel] | $29.99 |
| Mac Pro | Apple M1, M2, M3, M4 & T2 [Intel] | $29.99 |
iActivate MDM Bypass Services
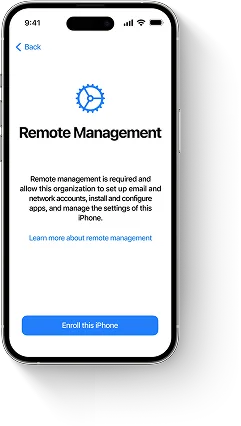
MDM Bypass iPhone
Bypass MDM on any iPhone in one click — remove the MDM profile, skip the Remote Management authentication screen, and unlock all iOS features without a login or password, even if the MDM profile cannot be downloaded.
-
Get Result: Instant
-
MDM Bypass Method: Software
-
 Supports: iOS 7 → 26
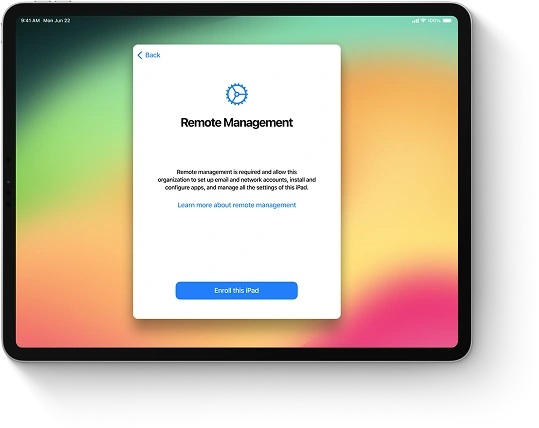
MDM Bypass iPad
Unlock any iPad locked by MDM by removing the corporate profile, bypassing the Remote Management activation screen without credentials, and restoring full functionality. Compatible with all iPad models and iPadOS versions.
-
Get Result: Instant
-
MDM Bypass Method: Software
-
Supports: iOS 7 → 26
MDM Bypass Mac
Easily bypass the MDM profile and remove Remote Management from any Mac — including MacBook Pro, MacBook Air, and other models with Apple M1, M2, M3, M4 or T2 chips. Regain full access and control in just a few clicks.
-
Get Result: Instant
-
MDM Bypass Method: Hardware
-
Supports: Mavericks → Tahoe 26
Frequently Asked
Questions
-
Mac MDM bypass refers to the process of removing Mobile Device Management (MDM) restrictions from a Mac device, allowing users to regain full control without administrative supervision.
-
Yes, iActivate support MDM removal on MacBook Pro and MacBook Air models equipped with Apple M1, M2, M3, and T2 processors.
-
No, bypassing MDM does not disable Find My Mac. Ensure Find My Mac is turned off before initiating the bypass process.
-
Yes, iActivate allow MDM removal without requiring passwords or administrative credentials.
-
MDM bypass tools support various macOS versions, including macOS Sierra through macOS Tahoe 26.
-
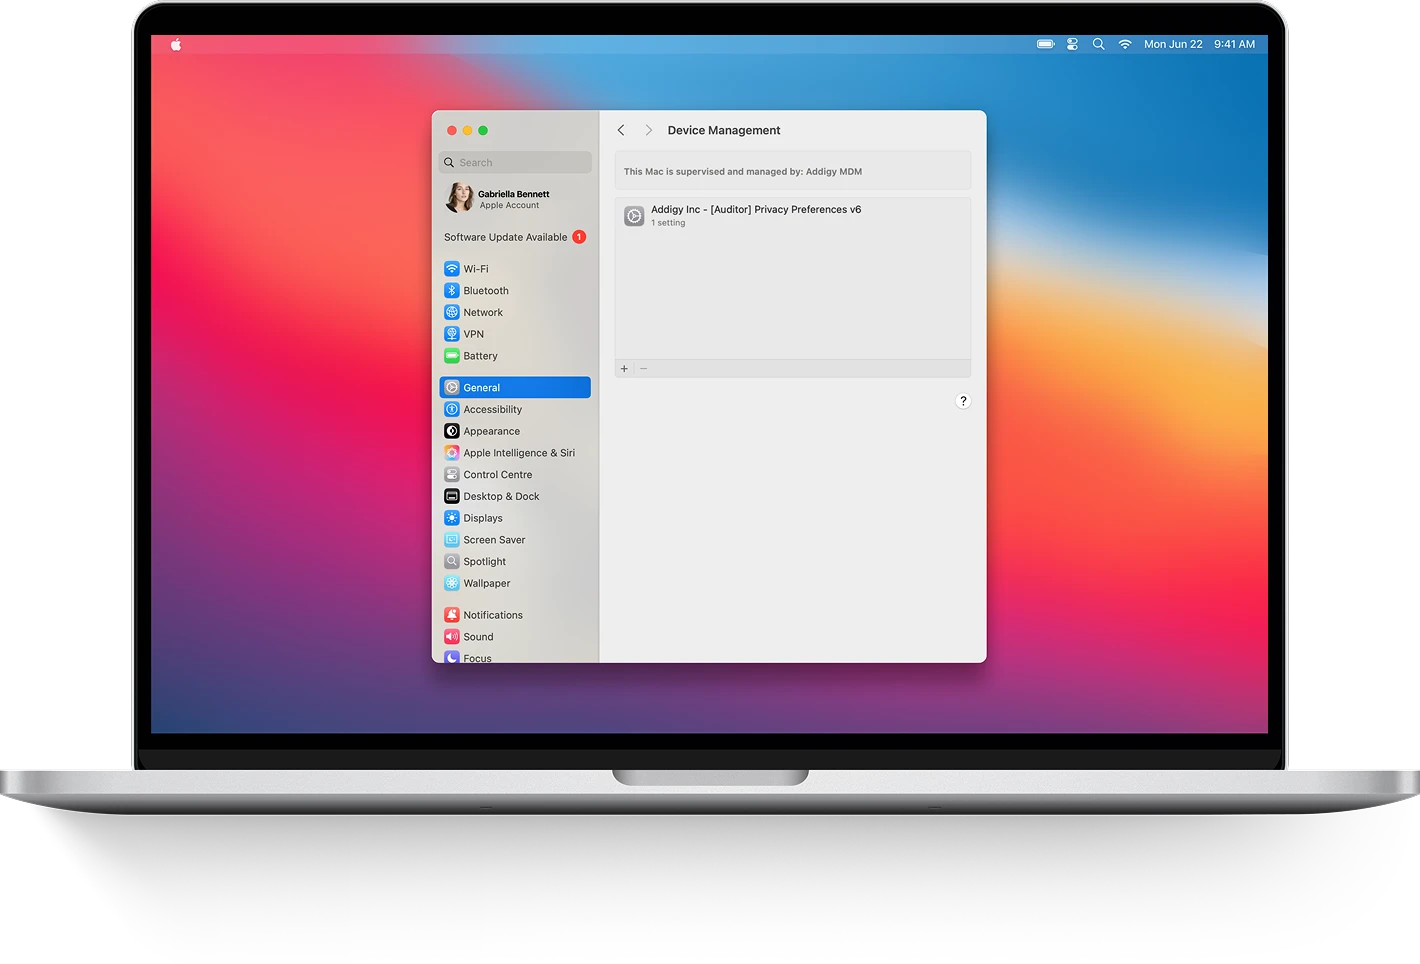
Navigate to System Settings > Privacy & Security > Profiles. If you see a label stating "This Mac is supervised and managed by: <Company Name>", your device is MDM enrolled.
-
Once bypassed, the MDM restrictions are permanently removed from the device. However, if you reinstall macOS or restore the system, the MDM could return—but you can reuse your iActivate license for free to bypass it again.
-
Yes, you can update macOS using OTA (Over-the-Air) updates.